Learn Street Photography
Anyone can learn how to do street photography and in this guide, I’ll walk you through the basics.
Need a camera for street photography?
Here’s my list of best cameras for street photography in 2023.
Watch me coach a beginner photographer
Top 3 street photography courses
I’ve bought countless photography courses and here are my favorite online photography classes.
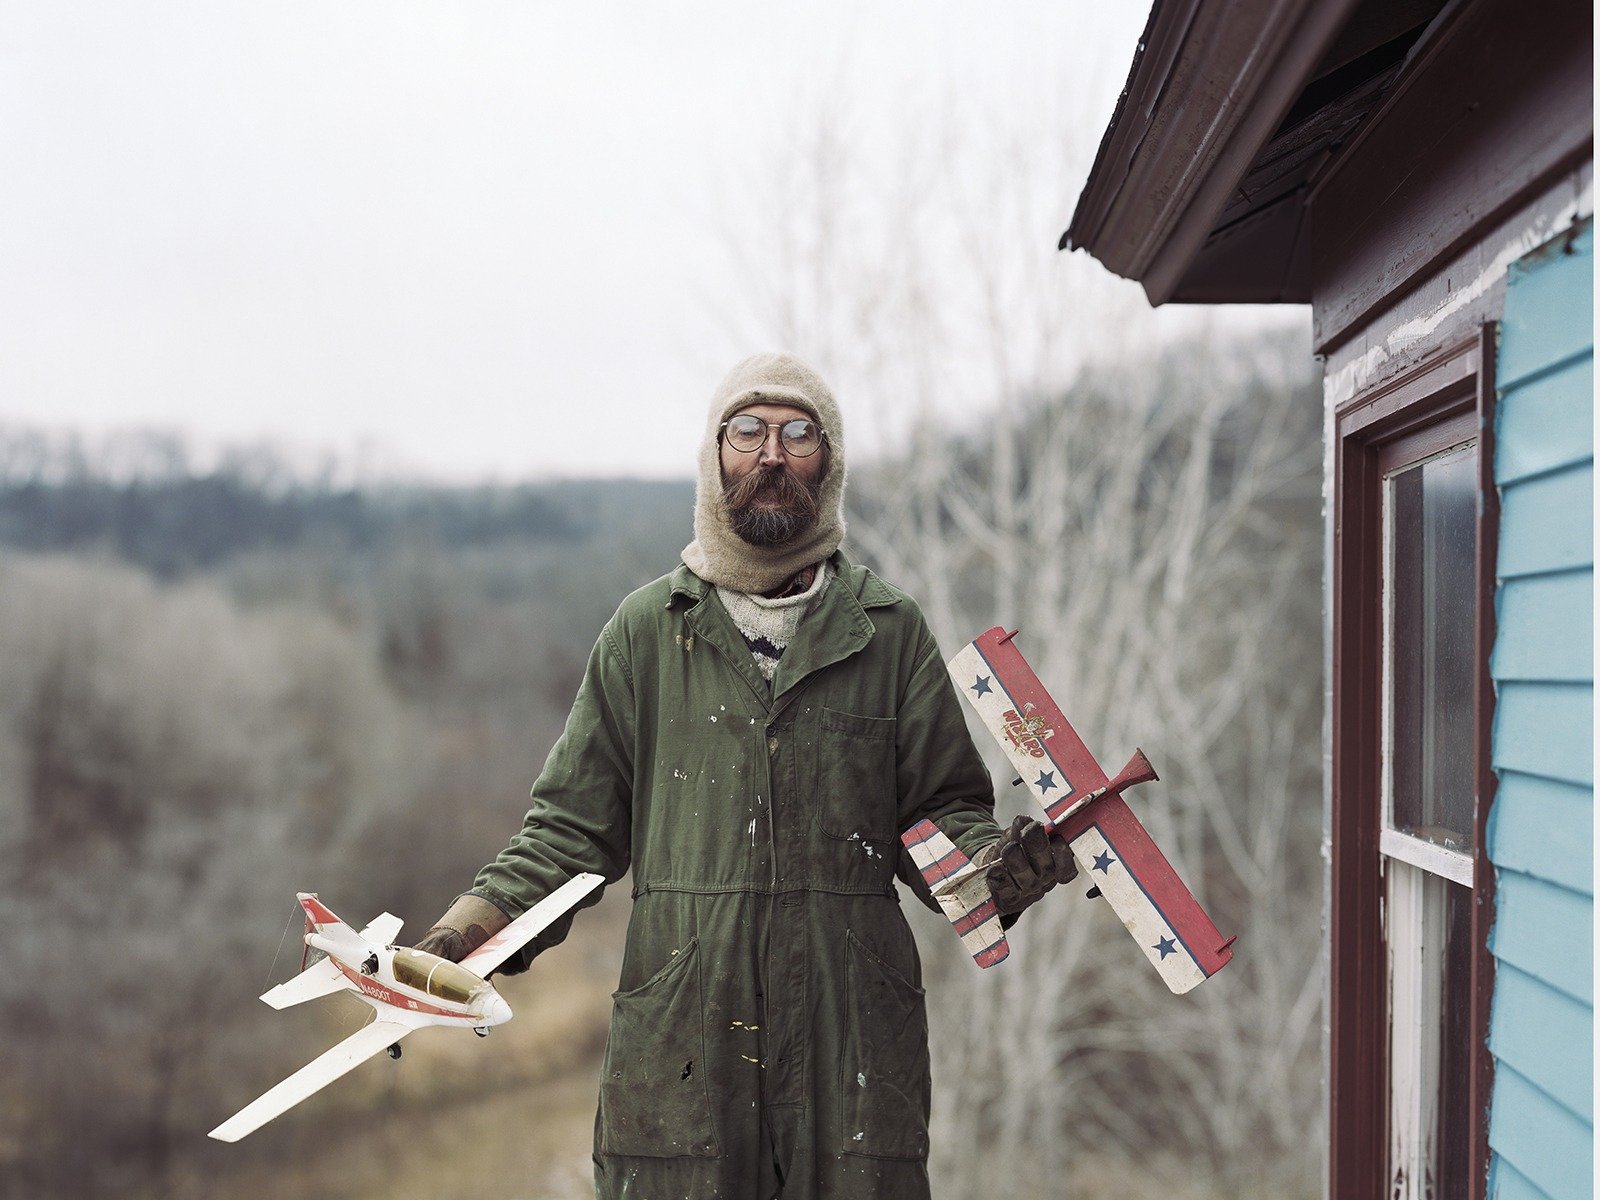
Alec Soth, a renowned photographer, has collaborated with Magnum Photos to create a comprehensive 5-hour photography course that delves into the intricacies of the art form. I highly recommend taking the time to immerse yourself in this invaluable learning experience.
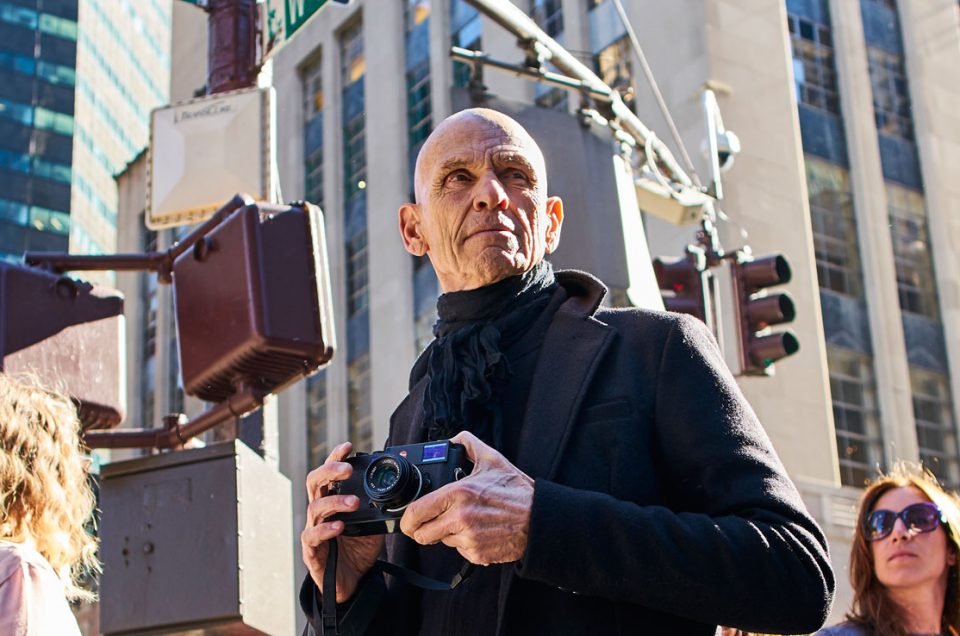
Joel is one of the best teachers and most accomplished street photographers alive. His course is a must-watch.
His course consists of 5 hours of video material where you follow him on the street and see exactly how the great Joel Meyerowitz works.

Steve McCurry, an iconic photographer renowned for his unforgettable portraits of the captivating 'Afghan girl' with striking green eyes, imparts his knowledge in his photography course.
In this course, he shares insights into the evolution of his distinctive style and shooting techniques.
Street Photography 101
Getting started
Composition and framing
Learn from the greats
We are so fortunate to be able to learn from the press-, street- and documentary photographers who came before us. Make use of it.

How do I start taking street photos?
Charge your batteries and go out today.
No more reading. No more preparing. If you’ve found your way to this article it means you clearly have an interest in street photos, so give it a try today.
You don’t need an expensive camera to do urban photography and if you don’t have a camera, use your phone.
If you are more of a visual learner, watch my street photography videos on Youtube. I do a mix of film photography and digital photography.
While I think tips and tricks can give you a headstart, and looking at photo books will inspire you - you have to practice on the streets.
Composition, Framing & Angles
As a street photographer, you have a lot of liberty to freestyle it. And there aren’t really many rules. That said, to make a good street photo, it helps to understand the basics of composition, and angles, and know how to frame a photo.
It’s a really good idea to think about framing – adjust your composition – take the same photo from different angles, and look for triangles, isolate objects, play with foreground and background.
Street Portraits
I’ve spent countless hours taking street portraits of people I’ve met on the streets. This is my portfolio of street portraits. In this video, I share my best tips on photographing strangers.
Camera settings
We have Manual mode, shutter-priority, P-mode, aperture priority mode.
When to use what setting in street photography?
Focusing on street photography: Autofocus, prefocus, AE-L & AF-L
How to focus: This is a tricky thing in street photography because everything moves so fast and your scene is very unpredictable, which is why you should rely a lot on your settings and experience.
At the moment, I do zone-focusing and single-point focusing. I’m not sure a have a favorite yet.
AE lock stands for Auto Exposure-Lock. The reason to use AE-L is to lock the exposure where you want and point that camera elsewhere after.
AF lock stands for Auto Focus Lock. The point of using AF-lock, which is something I often use, is to pre-focus at a certain spot, so your next shot will be a lot faster. When choosing your camera, it helps to have a fast frame rate and autofocus.
“I’m too shy for street photography”
Noone is too shy for street photography. Here’s what you need to do
The first 15 minutes of shooting
It’s important that you get out of your shell at the beginning of your shoot, so you don’t let your fear build up. So take off your headphones, and approach the first couple of people you met, even if they don’t make for a good photo. The faster you start interacting with people on your shoot, the more fun and easier it will be for you.
Managing your expectations
You should take street photos photography because you like or love it. I do that, but I can’t help to set high expectations for what photos I want to bring home, even though I try telling myself that I shouldn’t stress too much about the result.
But the truth is, most times I go out, I fall into these dips of negative thoughts and frustrations.
“I’m a bad photographer”
“I won’t get a single photo I like today”, and so on.
I have learned to accept that just how it is, but it can be a bit tough on bad days. When you have walked around for 30 minutes knowing all of the photos you’ve shot so far, aren’t good, you will start to build up these negative thoughts or frustrations that are extremely counter-intuitive.
I got out taking photos once a week, for a couple of hours and I always walk with this mixed feeling of fun, anxiety, and frustration. That’s how it is for me.
Don’t let the fear scare you
Dealing with fear and anxiety is probably what most people struggle with, going into street photography, and I get that and I deal with that too, but in a different way.
I am more afraid of being too scared to take the photo that is in front of me, and not becoming the photographer I want to become, than of getting rejected by someone I approach in the street.
Dealing with Rejection
After taking photos for a year now, and approaching hundreds of strangers, I have learned that rejection isn’t that bad. The fear of rejection is usually a lot worse than rejection itself.
“But what if I’m really shy?”
Street photography has a reputation for being an intrusive, obnoxious, careless form of photography, where the photographer would piss off any person they meet on the street if that would give them the photograph they wanted – an aggressive, bullish Bruce Gilden type of photographer if you will.
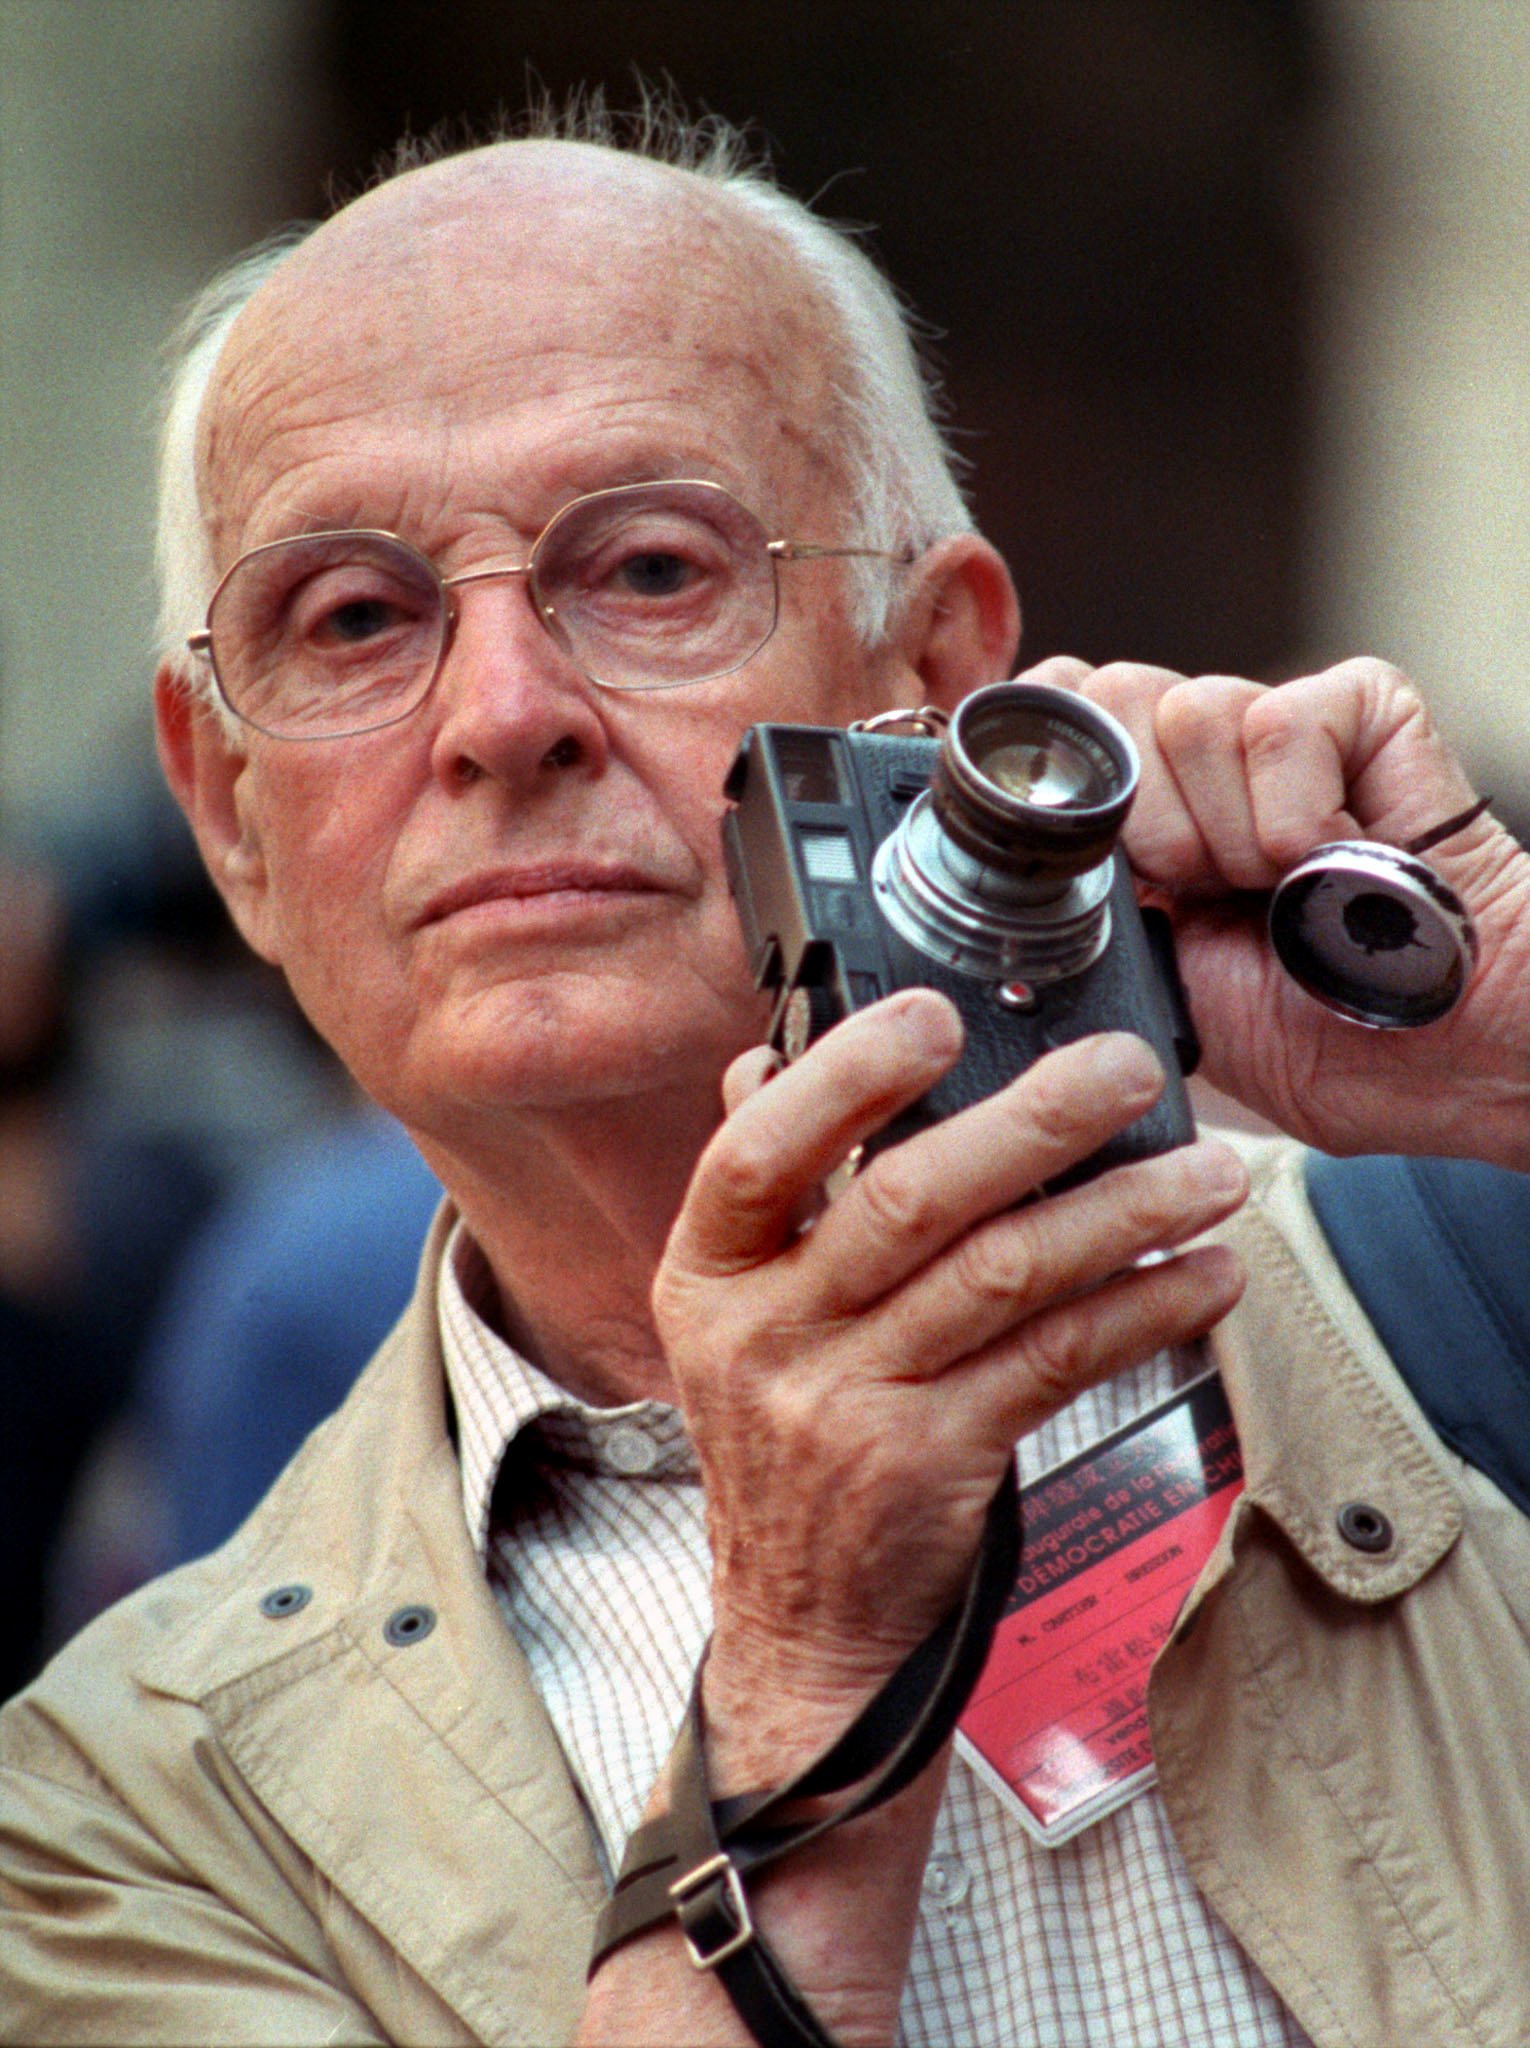
But if you look at Henri Cartier-Bresson’s work who is arguably one of the most praised photographers to have lived, you will immediately notice how far it stands from his subject and how he took advantage of his introverted or shy personality.
Just because you are extremely shy or introverted, doesn’t mean you can’t produce incredible photographs in the street.
Learn how to Work a scene
The first photograph you take is rarely the best. In this lesson, you’ll learn what it means to work a scene
Street Photography at Night
All types of photography become more complicated in low-light situations, and street photography is no exception.
When I’m shooting at night I always use a max ISO of 6400 and a min shutter speed of 125th of a second It’s difficult at night to push your shutter speed much faster than that, but with these settings, you’ll still freeze the moment while keeping the ISO at a decent level.