Film Photography
Going from digital to film photography can be a bit tricky, but in this video series, I’ll take you along on a journey to becoming a better film photographer.
Watch how to choose a camera, set exposure and practise manual focus.
Choose your first film camera
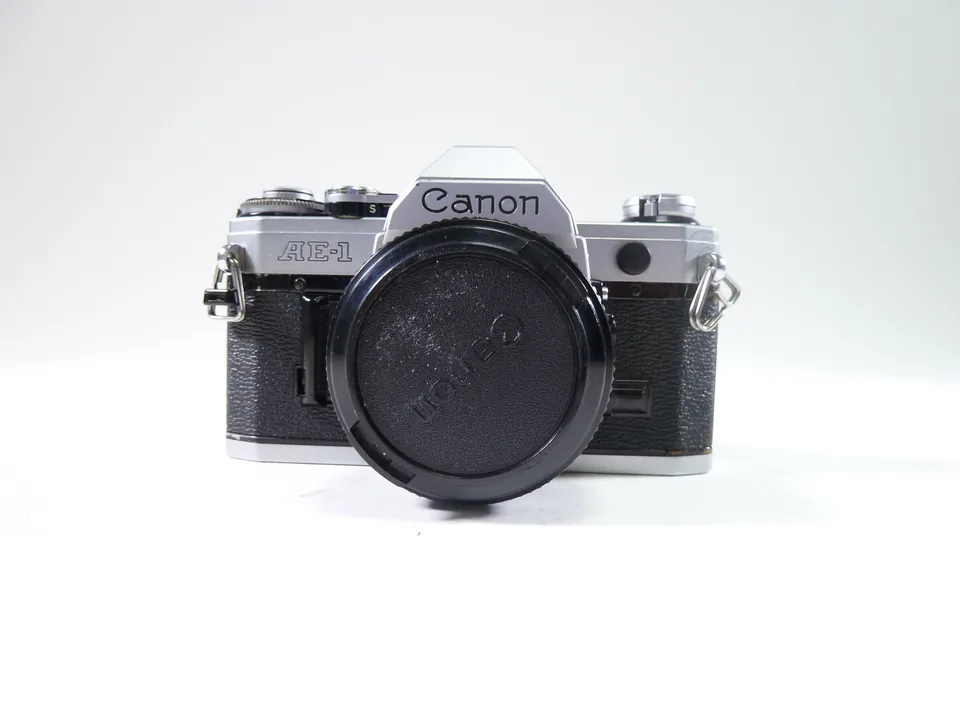
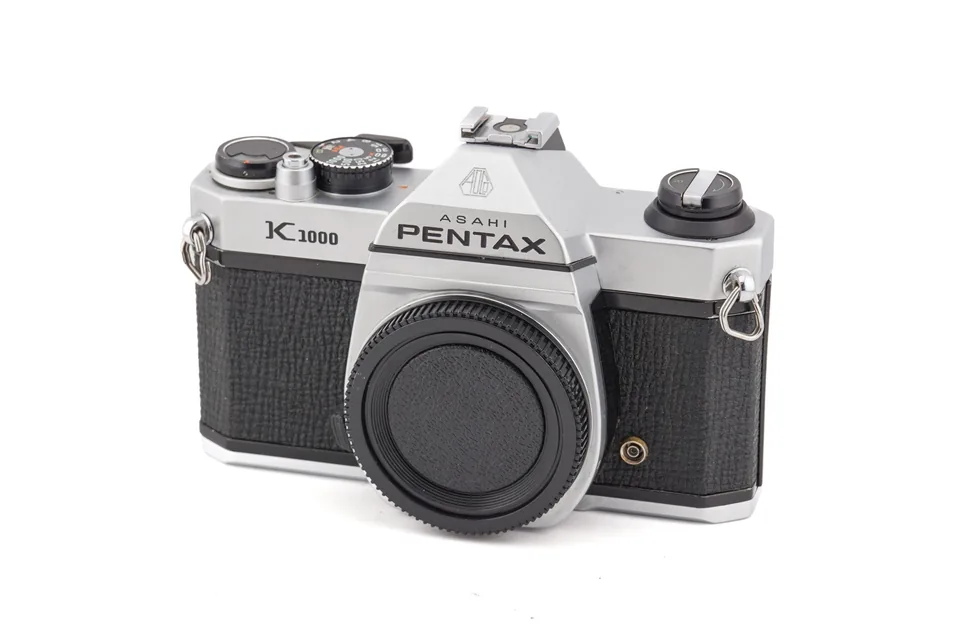
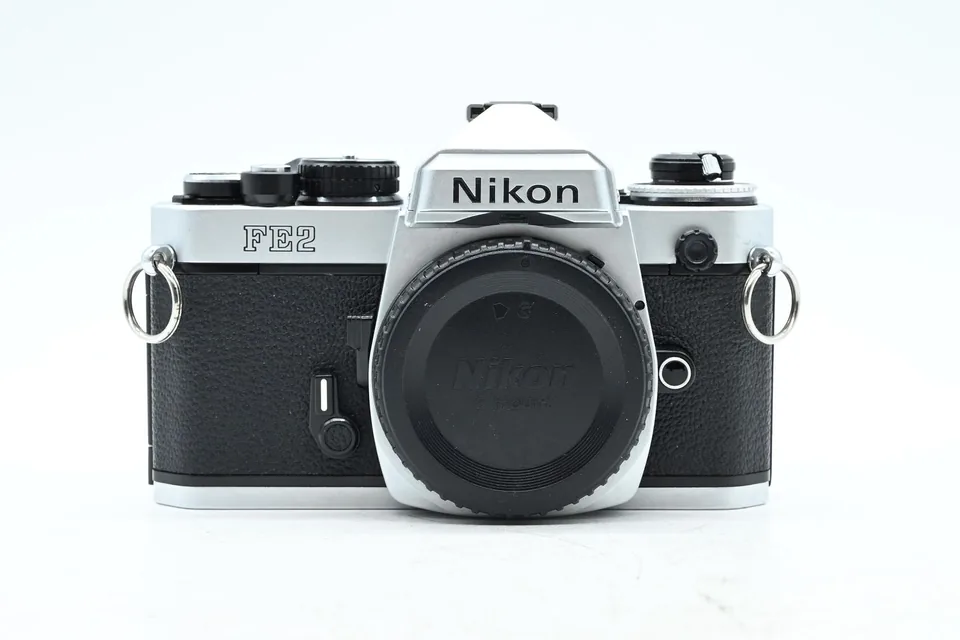
My first film camera was a Canon AE-1. I now also shoot with a medium-format Rolleiflex 2.8F, but I’d start with a working 35mm camera. The AE-1, Pentax K1000 and Nikon FE2 are good places to look; with a used camera, a tested shutter and meter matter more than perfect cosmetics.
Canon AE-1
my first film camera, with manual control and shutter-priority exposure.
Pentax K1000
a manual SLR with simple controls for learning film photography.
Nikon FE2
a Nikon SLR with manual control and aperture-priority exposure.
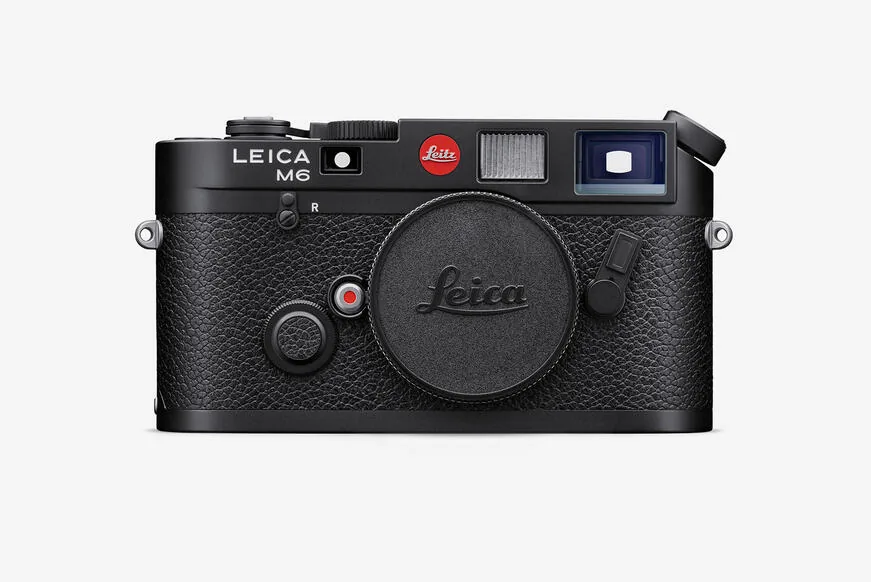
Leica M6
a premium film rangefinder alternative when you specifically want that focusing experience and can justify the cost.
Choose a film stock
These are the films I return to for street photography and portraits:
- Kodak Portra 400 for colour.
- Ilford HP5 Plus 400 and Kodak Tri-X 400 for black and white.
Street photography on film
Watch me work with manual focus and exposure on the street, using black-and-white Ilford HP5 and colour Kodak Portra 400.
More film photography videos
Continue with the full playlist, or browse my film photography portfolio for 35mm and medium-format photographs.
Exposure and manual focus
What ISO should I use?
Start with the ISO printed on the film box. Keep it consistent for your first few rolls so you can learn how the film responds.
How should I meter the scene?
Use a light meter and pay attention to shadow detail when shooting negative film. Note your settings, then compare them with your scans to spot repeated exposure problems.
How can I improve my manual focusing?
Practise on stationary objects at different distances before photographing moving subjects. You can turn the focusing ring and check the viewfinder without using a frame. Repeat until finding focus feels familiar.
Developing and scanning
What do pushing and pulling mean?
Pushing and pulling change how the film is developed. With black-and-white negative film, pushing uses longer development and pulling uses shorter development. Changing the camera’s ISO setting alone does neither.
For example, if you expose ISO 400 film at ISO 1600, tell your lab before processing and discuss a two-stop push. Results depend on the film and process.
Do I need a film scanner?
Start by having a lab develop and scan your first rolls. It lets you learn the film process before committing to a scanner, holders, software and the time needed to make consistent scans.
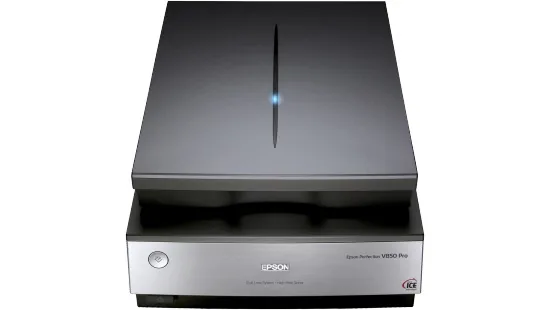
For scanning at home, the Epson Perfection V850 Pro handles both 35mm and medium-format film. It takes more time and equipment than sending rolls to a lab. Epson lists it as discontinued in the UK; it remains available in the US.
Keep learning
Explore my recommended photography courses or the Film Photography 101 course on Skillshare. For more examples, browse my black-and-white photography.
For help getting your photography seen and finding paid opportunities, explore Underexposed.
35mm film photography
35mm is a practical place to begin because the cameras are relatively portable and each roll gives you enough frames to experiment. Start with a working camera, one lens and one film stock. Changing all three at once makes it harder to understand your results.
For colour, see the Kodak Portra 400 guide. For black and white, compare Ilford HP5 Plus with Kodak Tri-X 400. Keep notes about the light, shutter speed and aperture, then review them beside your scans.
How to use a film camera
- Check the camera. Confirm the battery, meter and shutter work before loading a roll. Use the manual for your model's loading instructions.
- Load in subdued light. Secure the film leader, close the back and advance to the first frame. On a manual-wind camera, check that the rewind knob turns as you advance.
- Set the ISO. Match the meter to the film speed on the box. If the camera reads DX codes automatically, check that it supports your film's speed.
- Meter, focus and expose. Choose a shutter speed that suits the subject, set the aperture using the meter, focus, and make the photograph. Advance the film before the next frame if the camera requires it.
- Rewind before opening. Follow your camera's rewind procedure at the end of the roll. Opening the back before the film is safely rewound exposes it to light.
- Develop and review. Ask the lab for the processing your film requires. Look at the whole roll to spot repeated focus or exposure problems before buying more equipment.
Once loading and exposure feel familiar, practise with the exercises in the street photography guide.